
-
Table of Contents
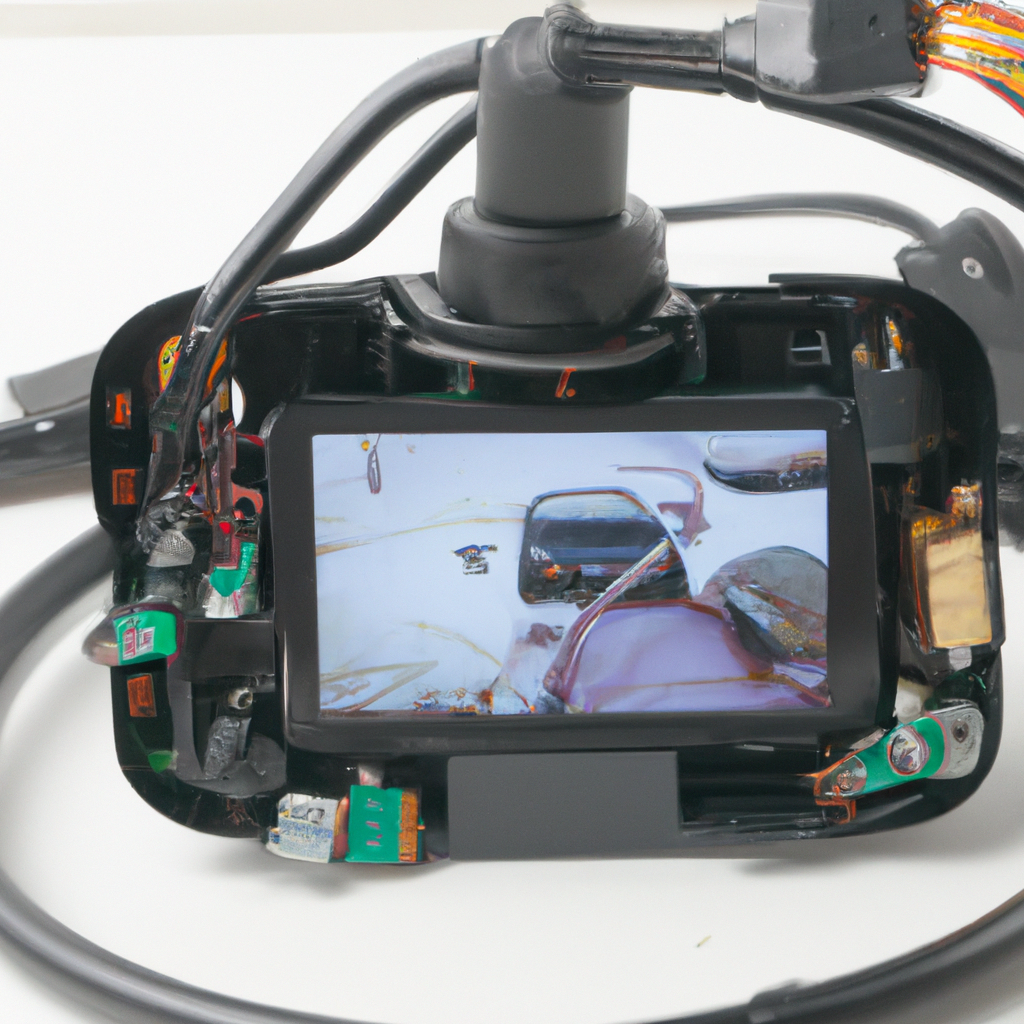
“Secure your vehicle with a dashcam – Hardwire it for the ultimate protection!”
Introduction
Dashcams are becoming increasingly popular as a way to record your driving experience. They can be used to capture evidence in the event of an accident, or simply to record your journey. Hardwiring a dashcam is a great way to ensure that your dashcam is always powered and ready to record. This guide will provide step-by-step instructions on how to hardwire a dashcam in your vehicle.
Step-by-Step Guide to Hardwiring a Dashcam
1. Gather the necessary materials. You will need a hardwiring kit, a dashcam, and a flathead screwdriver.
2. Locate the fuse box in your vehicle. This is usually located under the dashboard or in the engine compartment.
3. Open the fuse box and identify the correct fuse to use. Consult your vehicle’s manual to determine the correct fuse.
4. Remove the fuse from the fuse box. Use the flathead screwdriver to carefully remove the fuse.
5. Connect the hardwiring kit to the fuse box. Insert the fuse into the hardwiring kit and connect the other end of the kit to the fuse box.
6. Connect the dashcam to the hardwiring kit. Plug the dashcam into the hardwiring kit and secure it in place.
7. Test the connection. Turn on the vehicle and make sure the dashcam is powered on.
8. Secure the wiring. Make sure all the wiring is tucked away and out of sight.
9. Enjoy your new dashcam! You can now enjoy the added security and convenience of having a dashcam in your vehicle.
What You Need to Know Before Hardwiring a Dashcam
Before hardwiring a dashcam, it is important to understand the process and the potential risks involved. Hardwiring a dashcam involves connecting the device directly to the car’s electrical system, allowing it to draw power from the car’s battery. This eliminates the need for a power adapter and ensures that the dashcam will always be powered on.
When hardwiring a dashcam, it is important to ensure that the device is properly connected to the car’s electrical system. This includes connecting the device to the correct fuse in the fuse box, as well as ensuring that the wiring is properly insulated and secured. It is also important to ensure that the device is connected to a power source that is not affected by the car’s ignition system, as this could cause the dashcam to turn off when the car is turned off.
In addition, it is important to be aware of the potential risks associated with hardwiring a dashcam. If the device is not properly connected to the car’s electrical system, it could cause a short circuit or other electrical problems. Additionally, hardwiring a dashcam could potentially void the car’s warranty, so it is important to check with the manufacturer before attempting to hardwire the device.
Finally, it is important to be aware of the legal implications of hardwiring a dashcam. In some jurisdictions, it is illegal to hardwire a dashcam without the permission of the car’s owner. Additionally, it is important to be aware of any local laws or regulations that may apply to the use of dashcams.
By understanding the process and potential risks associated with hardwiring a dashcam, drivers can ensure that their device is properly connected and that they are in compliance with any applicable laws or regulations.
Benefits of Hardwiring a Dashcam
Hardwiring a dashcam is a great way to ensure that your vehicle is always protected. Hardwiring a dashcam provides a number of benefits, including:
1. Increased Security: Hardwiring a dashcam to your vehicle’s electrical system ensures that the camera is always powered on and recording. This provides an extra layer of security, as the camera will be able to capture any suspicious activity that may occur around your vehicle.
2. Improved Battery Life: By hardwiring your dashcam, you can avoid draining your vehicle’s battery. This is especially important if you plan to leave your vehicle parked for extended periods of time.
3. Easier Installation: Hardwiring a dashcam is much easier than having to plug it in every time you get in your vehicle. This makes it much more convenient to use and ensures that you can always have your dashcam ready to go.
4. Professional Look: Hardwiring a dashcam gives your vehicle a more professional look. This can be especially beneficial if you are a business owner or if you are trying to make a good impression.
Overall, hardwiring a dashcam is a great way to ensure that your vehicle is always protected. It provides increased security, improved battery life, easier installation, and a more professional look.
Common Mistakes to Avoid When Hardwiring a Dashcam
1. Not Disconnecting the Battery: Before beginning the hardwiring process, it is essential to disconnect the battery to avoid any potential damage to the vehicle or the dashcam.
2. Not Using the Correct Fuse: When hardwiring a dashcam, it is important to use the correct fuse size to ensure that the device is properly powered. Using a fuse that is too large can cause a short circuit, while using a fuse that is too small can cause the device to be underpowered.
3. Not Testing the Connection: After the hardwiring process is complete, it is important to test the connection to ensure that the device is properly powered. This can be done by turning on the dashcam and checking that it is receiving power.
4. Not Securing the Wires: After the hardwiring process is complete, it is important to secure the wires to ensure that they are not exposed. This can be done by using zip ties or electrical tape to keep the wires in place.
5. Not Installing the Dashcam Properly: When installing the dashcam, it is important to ensure that it is properly secured to the windshield. This can be done by using the included mounting bracket or adhesive pads.
Troubleshooting Tips for Hardwiring a Dashcam
1. Check the Fuse: Before attempting any hardwiring, check the fuse of the dashcam to ensure it is functioning properly. If the fuse is blown, replace it with a new one.
2. Check the Wiring: Make sure the wiring is properly connected and that all the connections are secure. If any of the wires are loose, tighten them.
3. Check the Voltage: Make sure the voltage of the dashcam is compatible with the vehicle’s electrical system. If the voltage is too high, it can cause damage to the dashcam and the vehicle.
4. Check the Ground: Make sure the ground wire is securely connected to the vehicle’s chassis. If the ground wire is not properly connected, it can cause electrical problems.
5. Check the Connectors: Make sure the connectors are properly connected and that all the pins are securely in place. If any of the pins are loose, tighten them.
6. Check the Fuse Box: Make sure the fuse box is properly connected and that all the fuses are in place. If any of the fuses are missing or loose, replace them.
7. Check the Battery: Make sure the battery is properly connected and that all the connections are secure. If any of the connections are loose, tighten them.
8. Check the Wiring Harness: Make sure the wiring harness is properly connected and that all the connections are secure. If any of the connections are loose, tighten them.
9. Check the Dashcam: Make sure the dashcam is properly connected and that all the connections are secure. If any of the connections are loose, tighten them.
10. Check the Installation: Make sure the installation is properly done and that all the connections are secure. If any of the connections are loose, tighten them.
Thanks for visiting Dashcam Installation Australia.
For more information visit local authories sites to know your rights.


