
-
Table of Contents
“Secure your Tesla with a Dashcam – Easy Installation, Maximum Protection!”
Introduction
Installing a dashcam in a Tesla is a great way to keep an eye on your vehicle and ensure that you have a record of any incidents that may occur while driving. Dashcams are becoming increasingly popular in cars, and Tesla is no exception. With the right tools and a bit of know-how, you can easily install a dashcam in your Tesla. This guide will walk you through the steps of installing a dashcam in your Tesla, from choosing the right model to connecting it to your car.
Step-by-Step Guide to Installing a Dashcam in a Tesla
Installing a dashcam in a Tesla is a great way to ensure that you have a record of your driving experience. Dashcams can be used to capture footage of accidents, road hazards, and other events that may occur while you are driving. This guide will provide step-by-step instructions on how to install a dashcam in a Tesla.
Step 1: Purchase the Dashcam
The first step is to purchase the dashcam that you would like to install in your Tesla. There are a variety of dashcams available on the market, so make sure to do your research and find the one that best suits your needs.
Step 2: Prepare the Dashcam
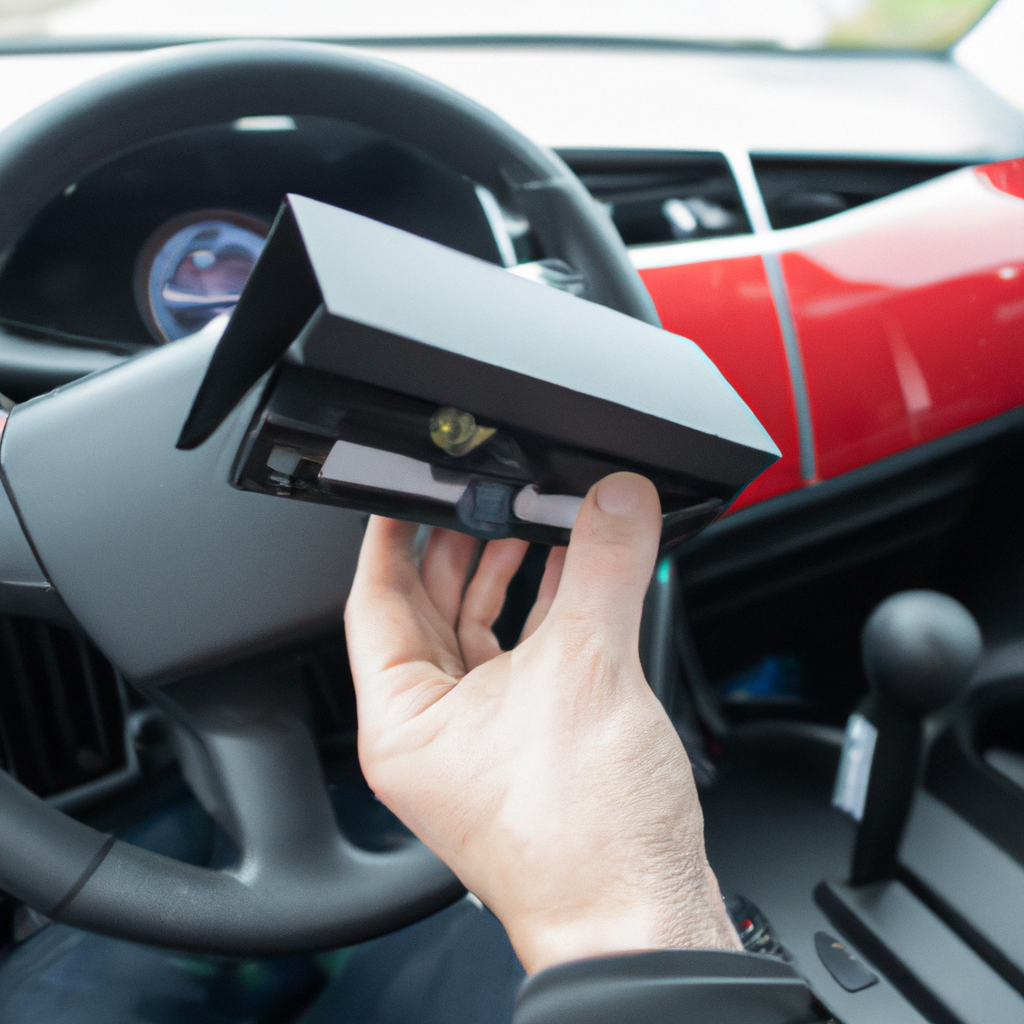
Once you have purchased the dashcam, you will need to prepare it for installation. This includes connecting the power cable to the dashcam and mounting the camera to the windshield. Make sure to follow the instructions provided with the dashcam to ensure that it is properly installed.
Step 3: Connect the Dashcam to the Tesla
Once the dashcam is prepared, you will need to connect it to the Tesla. This can be done by connecting the power cable to the 12V power outlet in the Tesla. Make sure to follow the instructions provided with the dashcam to ensure that it is properly connected.
Step 4: Install the Dashcam Software
Once the dashcam is connected to the Tesla, you will need to install the dashcam software. This software will allow you to view and manage the footage captured by the dashcam. Make sure to follow the instructions provided with the dashcam to ensure that the software is properly installed.
Step 5: Test the Dashcam
Once the dashcam is installed, you will need to test it to make sure that it is working properly. This can be done by recording a short video and then playing it back to make sure that the footage is clear and that the dashcam is functioning properly.
Congratulations! You have now successfully installed a dashcam in your Tesla. Make sure to follow the instructions provided with the dashcam to ensure that it is properly installed and functioning correctly. Enjoy the peace of mind that comes with having a dashcam in your Tesla!
What You Need to Know Before Installing a Dashcam in a Tesla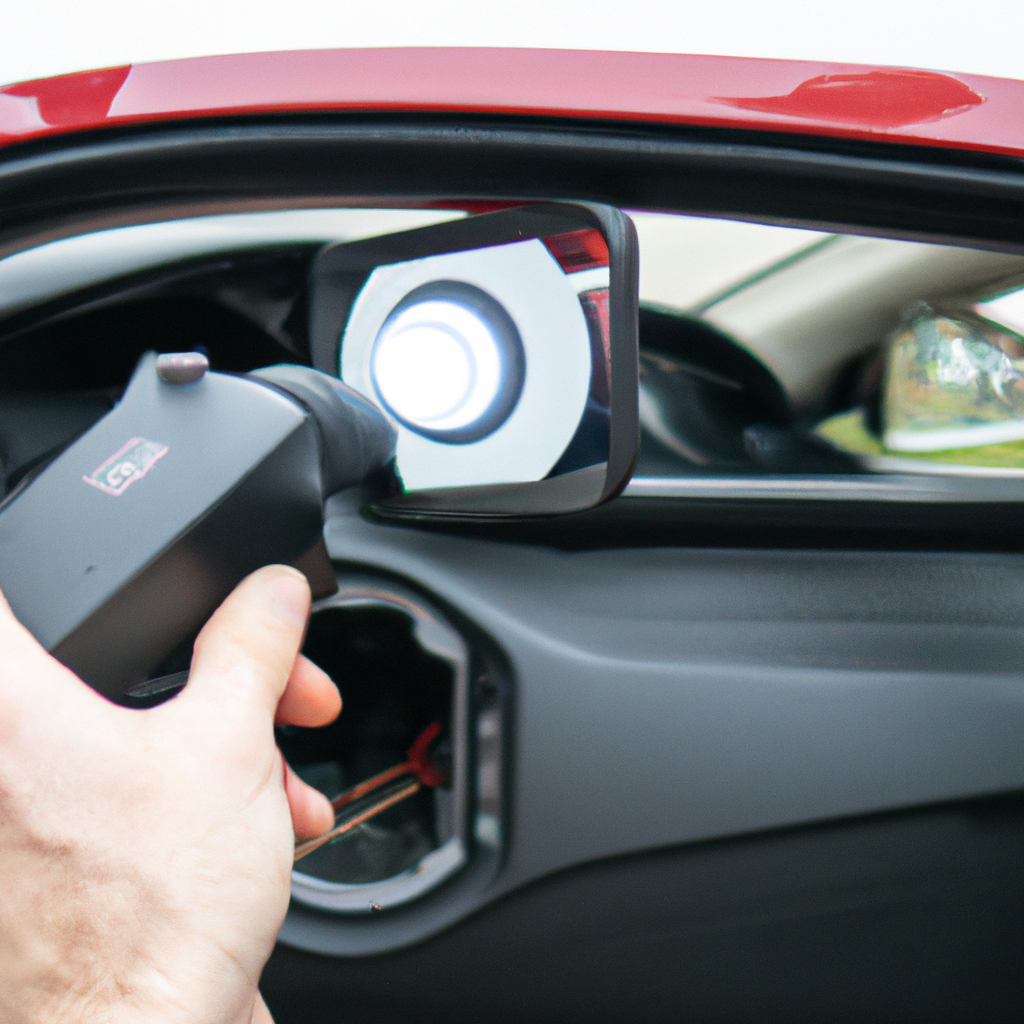
Before installing a dashcam in a Tesla, there are a few important things to consider.
First, it is important to make sure that the dashcam is compatible with the Tesla’s operating system. Tesla vehicles are equipped with a proprietary operating system, so it is important to make sure that the dashcam is compatible with the system. Additionally, it is important to make sure that the dashcam is compatible with the Tesla’s hardware. Some dashcams require additional hardware to be installed in order to work properly.
Second, it is important to make sure that the dashcam is properly installed. Dashcams can be installed in a variety of ways, including hardwiring, using a suction cup mount, or using a magnetic mount. It is important to make sure that the dashcam is securely mounted and that all of the wiring is properly connected.
Third, it is important to make sure that the dashcam is properly configured. Dashcams can be configured to record continuously, or they can be set to record only when motion is detected. Additionally, it is important to make sure that the dashcam is set to the correct resolution and frame rate.
Finally, it is important to make sure that the dashcam is properly maintained. Dashcams should be regularly checked for any signs of damage or wear and tear. Additionally, the dashcam should be regularly cleaned to ensure that it is recording properly.
By following these steps, you can ensure that your dashcam is properly installed and configured in your Tesla.
How to Choose the Right Dashcam for Your Tesla
When it comes to choosing the right dashcam for your Tesla, there are a few important factors to consider. Dashcams are an important tool for recording your driving experience, and they can provide valuable evidence in the event of an accident or other incident. With the right dashcam, you can ensure that your Tesla is always protected.
First, consider the type of dashcam you need. There are two main types of dashcams: single-channel and multi-channel. Single-channel dashcams record only the front view of the vehicle, while multi-channel dashcams record both the front and rear views. Depending on your needs, you may want to choose a single-channel or multi-channel dashcam.
Second, consider the features of the dashcam. Look for features such as night vision, motion detection, and GPS tracking. These features can help you keep an eye on your Tesla even when you’re not in the car.
Third, consider the cost of the dashcam. Dashcams can range in price from a few hundred dollars to several thousand dollars. Consider your budget and the features you need before making a purchase.
Finally, consider the installation process. Some dashcams require professional installation, while others are designed for DIY installation. Make sure you understand the installation process before making a purchase.
By considering these factors, you can ensure that you choose the right dashcam for your Tesla. With the right dashcam, you can ensure that your Tesla is always protected.
Tips for Installing a Dashcam in a Tesla Without Professional Help
1. Gather the necessary materials: Dashcam, mounting bracket, power cable, and USB cable.
2. Locate the 12V power port in the Tesla. This is usually located in the front console or glove box.
3. Connect the power cable to the 12V power port and the other end to the dashcam.
4. Attach the mounting bracket to the dashcam.
5. Place the dashcam in the desired location on the windshield.
6. Connect the USB cable to the dashcam and the other end to the USB port in the Tesla.
7. Turn on the dashcam and configure the settings as desired.
8. Test the dashcam to ensure it is working properly.
9. Secure the dashcam in place with the mounting bracket.
10. Enjoy your new dashcam!
Benefits of Installing a Dashcam in a Tesla
Installing a dashcam in a Tesla can provide a number of benefits to the driver. Dashcams are becoming increasingly popular in vehicles, and Tesla is no exception. Here are some of the advantages of installing a dashcam in a Tesla:
1. Increased Safety: Dashcams can provide an extra layer of security for drivers. They can record any incidents that occur while driving, such as accidents or road rage, which can be used as evidence in the event of a dispute.
2. Improved Driving Habits: Dashcams can help drivers become more aware of their driving habits. They can record any dangerous or reckless driving, which can be used as a reminder to drive more safely.
3. Enhanced Security: Dashcams can also provide an extra layer of security for the vehicle itself. They can record any suspicious activity that occurs around the vehicle, such as vandalism or theft.
4. Improved Insurance Claims: Dashcams can also be used to help with insurance claims. They can provide evidence of any incidents that occur while driving, which can be used to support an insurance claim.
Overall, installing a dashcam in a Tesla can provide a number of benefits to the driver. From increased safety to improved driving habits, dashcams can be a valuable addition to any vehicle.
Thanks for visiting Dashcam Installation Australia.
For more information visit local authories sites to know your rights.


