
-
Table of Contents
“Secure your ride with a dashcam – Get started with our easy step-by-step guide!”
Introduction
A dashcam is a great way to protect yourself and your vehicle while on the road. It can provide evidence in the event of an accident or other incident, and can even help you save money on your insurance premiums. Installing a dashcam is relatively easy, and this step-by-step guide will walk you through the process. With just a few simple steps, you can have your dashcam up and running in no time.
Step-by-Step Guide to Installing a Dashcam: What You Need to Know
Installing a dashcam in your vehicle is a great way to ensure your safety and security while on the road. Dashcams can provide valuable evidence in the event of an accident or other incident, and can also be used to monitor your driving habits. This step-by-step guide will help you install a dashcam in your vehicle.
Step 1: Choose the Right Dashcam
The first step in installing a dashcam is to choose the right one for your needs. Consider the features you need, such as night vision, motion detection, and GPS tracking. Also, make sure the dashcam you choose is compatible with your vehicle.
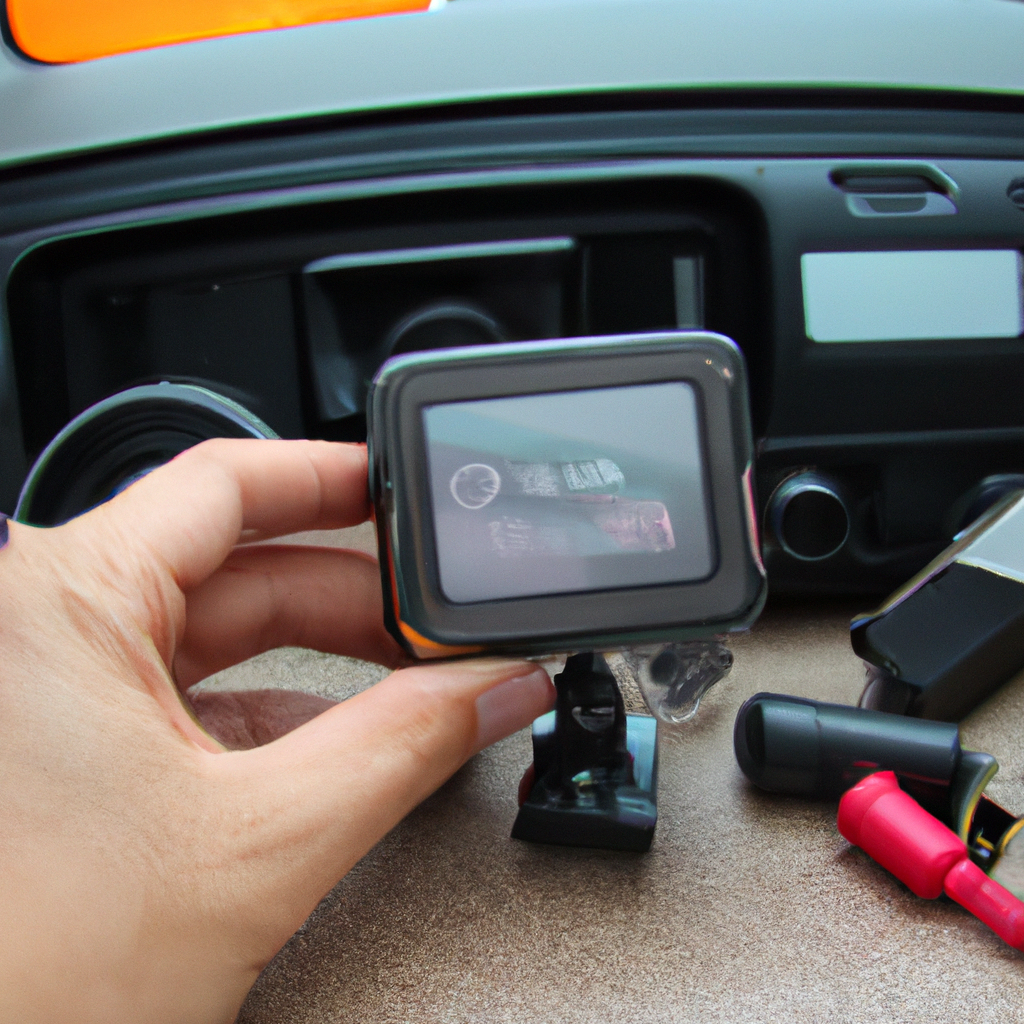
Step 2: Prepare the Mounting Area
Once you have chosen the right dashcam, you will need to prepare the mounting area. Clean the area with a damp cloth and make sure it is free of dust and debris.
Step 3: Attach the Mount
Next, attach the mount to the mounting area. Make sure the mount is securely attached and that it is level.
Step 4: Connect the Dashcam
Now it is time to connect the dashcam to the mount. Connect the power cable to the dashcam and then plug it into the vehicle’s power outlet.
Step 5: Adjust the Settings
Once the dashcam is connected, you can adjust the settings to your preferences. This includes setting the recording resolution, motion detection sensitivity, and other settings.
Step 6: Test the Dashcam
Finally, test the dashcam to make sure it is working properly. Start the vehicle and make sure the dashcam is recording.
Installing a dashcam in your vehicle is a simple process that can provide you with peace of mind while on the road. By following these steps, you can ensure that your dashcam is installed correctly and that it is working properly.
How to Choose the Right Dashcam for Your Vehicle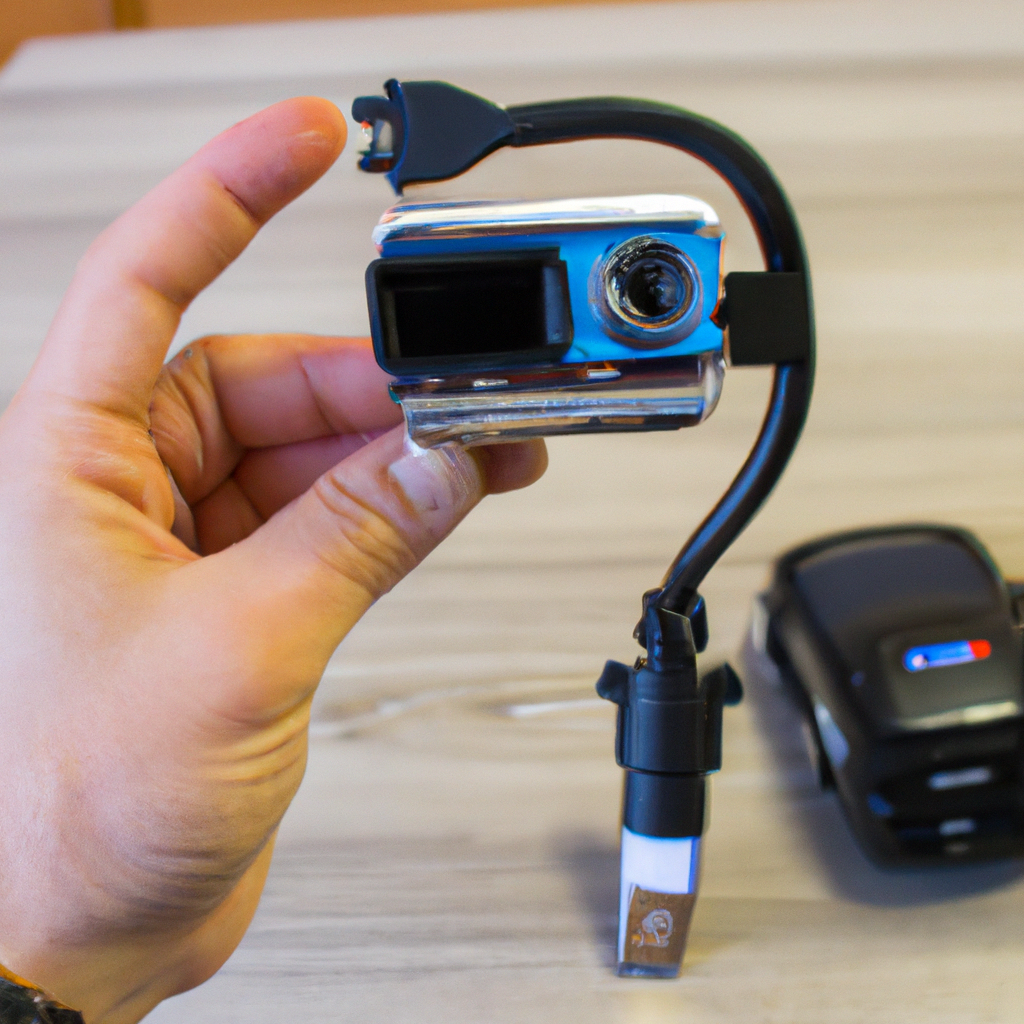
When it comes to choosing the right dashcam for your vehicle, there are a few important factors to consider. Dashcams are becoming increasingly popular as a way to record your journey and provide evidence in the event of an accident or other incident. With so many different models and features available, it can be difficult to know which one is right for you. Here are some tips to help you make the right choice.
First, consider the size and shape of the dashcam. Dashcams come in a variety of sizes and shapes, so it’s important to choose one that fits your vehicle. If you have a smaller car, you may want to opt for a smaller model. If you have a larger vehicle, you may want to choose a larger model.
Second, consider the features of the dashcam. Different models offer different features, such as night vision, motion detection, and GPS tracking. Consider which features are most important to you and choose a model that offers them.
Third, consider the price of the dashcam. Dashcams can range in price from a few hundred dollars to several thousand dollars. Consider your budget and choose a model that fits within it.
Finally, consider the installation process. Some dashcams require professional installation, while others are easy to install yourself. Consider your level of expertise and choose a model that is easy to install.
By considering these factors, you can make an informed decision and choose the right dashcam for your vehicle. With the right dashcam, you can record your journey and have peace of mind knowing that you have evidence in the event of an accident or other incident.
Tips for Installing a Dashcam in Your Vehicle
1. Choose a Dashcam: Select a dashcam that meets your needs. Consider factors such as video quality, storage capacity, and ease of installation.
2. Install the Dashcam: Follow the manufacturer’s instructions for installation. Make sure the camera is securely mounted and the wiring is properly connected.
3. Connect the Power Source: Connect the dashcam to the vehicle’s power source. This can be done by connecting the power cable to the vehicle’s cigarette lighter or directly to the vehicle’s battery.
4. Adjust the View: Adjust the camera’s view to ensure that it captures the desired area. Make sure the camera is not blocked by any objects or obstructions.
5. Test the Dashcam: Test the dashcam to make sure it is working properly. Check the video quality and make sure the camera is capturing the desired area.
6. Secure the Dashcam: Secure the dashcam to the vehicle to prevent it from being stolen or damaged. Use a locking device or adhesive to secure the camera in place.
7. Maintain the Dashcam: Regularly check the dashcam to make sure it is working properly. Clean the lens and check the wiring to ensure the camera is functioning correctly.
The Benefits of Installing a Dashcam in Your Vehicle
The installation of a dashcam in a vehicle can provide a number of benefits to the driver. Dashcams are small cameras that are mounted on the dashboard or windshield of a vehicle and record video footage of the road ahead. This footage can be used to provide evidence in the event of an accident or other incident, as well as to monitor the driver’s behavior.
One of the primary benefits of installing a dashcam in a vehicle is that it can provide evidence in the event of an accident or other incident. Dashcam footage can be used to prove who was at fault in an accident, as well as to provide evidence of any dangerous driving behavior. This can be especially useful in cases where the other driver is not willing to accept responsibility for the accident.
Another benefit of installing a dashcam is that it can be used to monitor the driver’s behavior. Dashcam footage can be used to identify any dangerous driving habits, such as speeding or tailgating, and can be used to help the driver become a safer driver. This can be especially useful for parents who want to monitor their teenage drivers.
Finally, installing a dashcam can also provide peace of mind to the driver. Knowing that their vehicle is equipped with a dashcam can provide a sense of security, as the driver will know that any incidents or accidents will be recorded and can be used as evidence if necessary.
In conclusion, installing a dashcam in a vehicle can provide a number of benefits to the driver. Dashcam footage can be used to provide evidence in the event of an accident or other incident, as well as to monitor the driver’s behavior. Additionally, it can provide peace of mind to the driver, knowing that their vehicle is equipped with a dashcam.
Troubleshooting Common Issues When Installing a Dashcam
Installing a dashcam can be a great way to protect yourself and your vehicle, but it can also be a source of frustration if you encounter any issues during the installation process. Here are some of the most common issues you may encounter when installing a dashcam, and how to troubleshoot them.
1. The dashcam won’t turn on: This is usually caused by a faulty power connection. Make sure the power cable is securely connected to the dashcam and to the power source. If the power cable is connected correctly, try resetting the dashcam by disconnecting the power cable and then reconnecting it.
2. The dashcam won’t record: This is usually caused by a faulty memory card. Make sure the memory card is inserted correctly and that it is compatible with the dashcam. If the memory card is inserted correctly and is compatible, try formatting the memory card.
3. The dashcam won’t stay mounted: This is usually caused by a faulty adhesive mount. Make sure the adhesive mount is securely attached to the windshield and that it is compatible with the dashcam. If the adhesive mount is attached correctly and is compatible, try using a different adhesive mount.
4. The dashcam won’t connect to Wi-Fi: This is usually caused by a faulty Wi-Fi connection. Make sure the Wi-Fi connection is enabled and that the dashcam is within range of the Wi-Fi network. If the Wi-Fi connection is enabled and the dashcam is within range, try resetting the Wi-Fi connection.
By following these troubleshooting steps, you should be able to resolve any issues you may encounter when installing a dashcam. If you are still having trouble, contact the manufacturer for further assistance.
Thanks for visiting Dashcam Installation Australia.
For more information visit local authories sites to know your rights.


